Why cable management matters
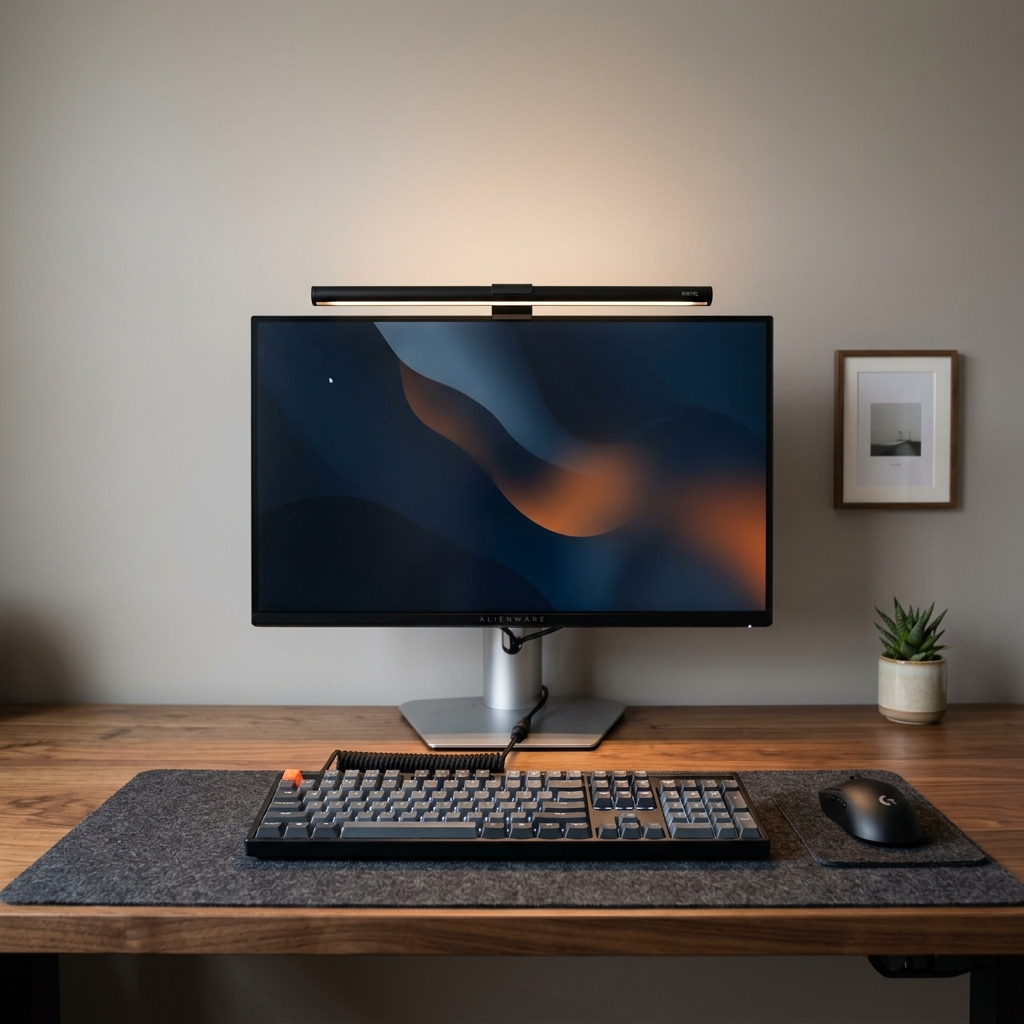
Cables are the single biggest enemy of a clean, calm desk aesthetic. A beautifully minimal setup with loose, visible cables still looks chaotic. The good news: good cable management costs very little, takes an afternoon to set up, and is permanent once it's done.
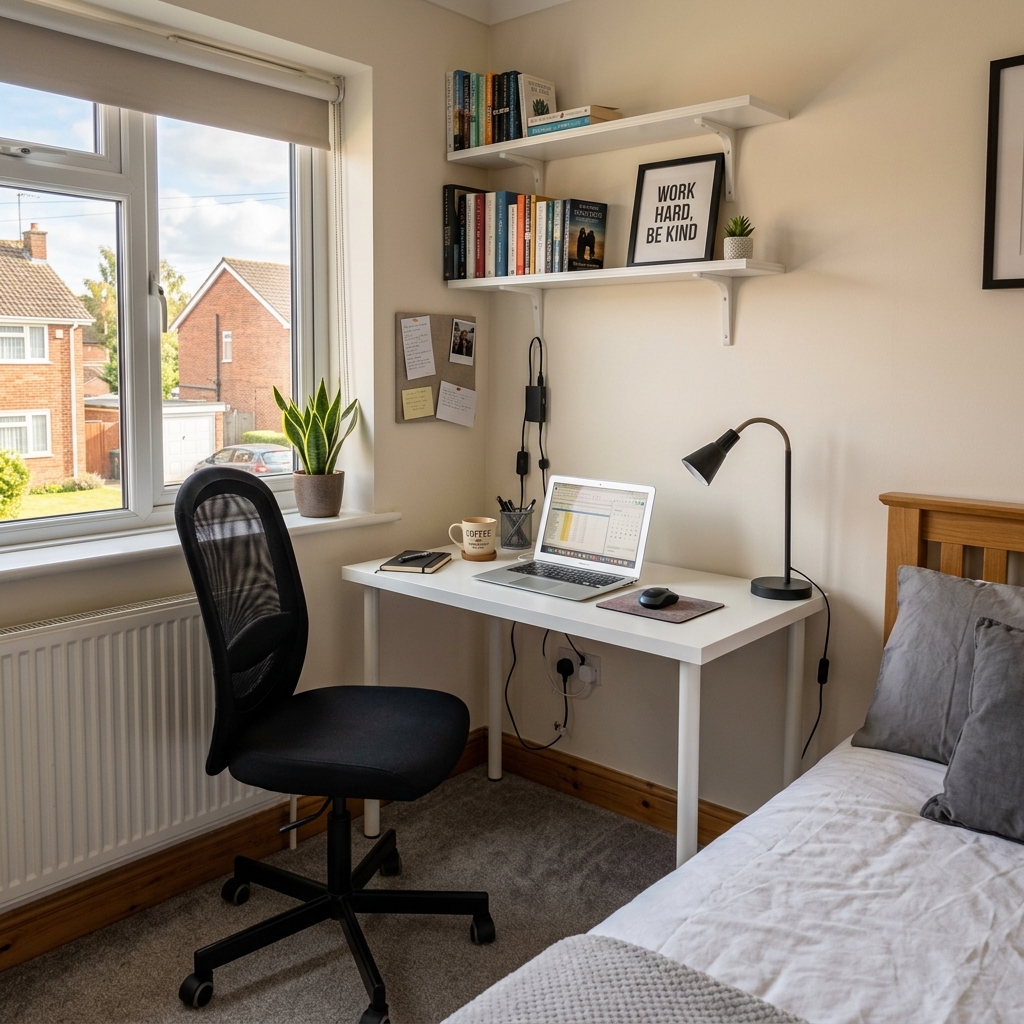
This guide covers the process and the products — in the right order — so you can achieve the kind of clean result you see in the minimal desk setups that make people stop scrolling on Pinterest.
If you only do one thing: Install an under-desk cable management tray. It costs under £20, hides your power strip and the bulk of your cables completely, and takes about 20 minutes to set up. Everything else is secondary.
The cable management process
Unplug and clear everything first
You cannot do cable management properly while cables are plugged in. Unplug everything from the power strip and desk. Put devices to one side. You need to see the cables as they are — unattached — before you can plan where they go.
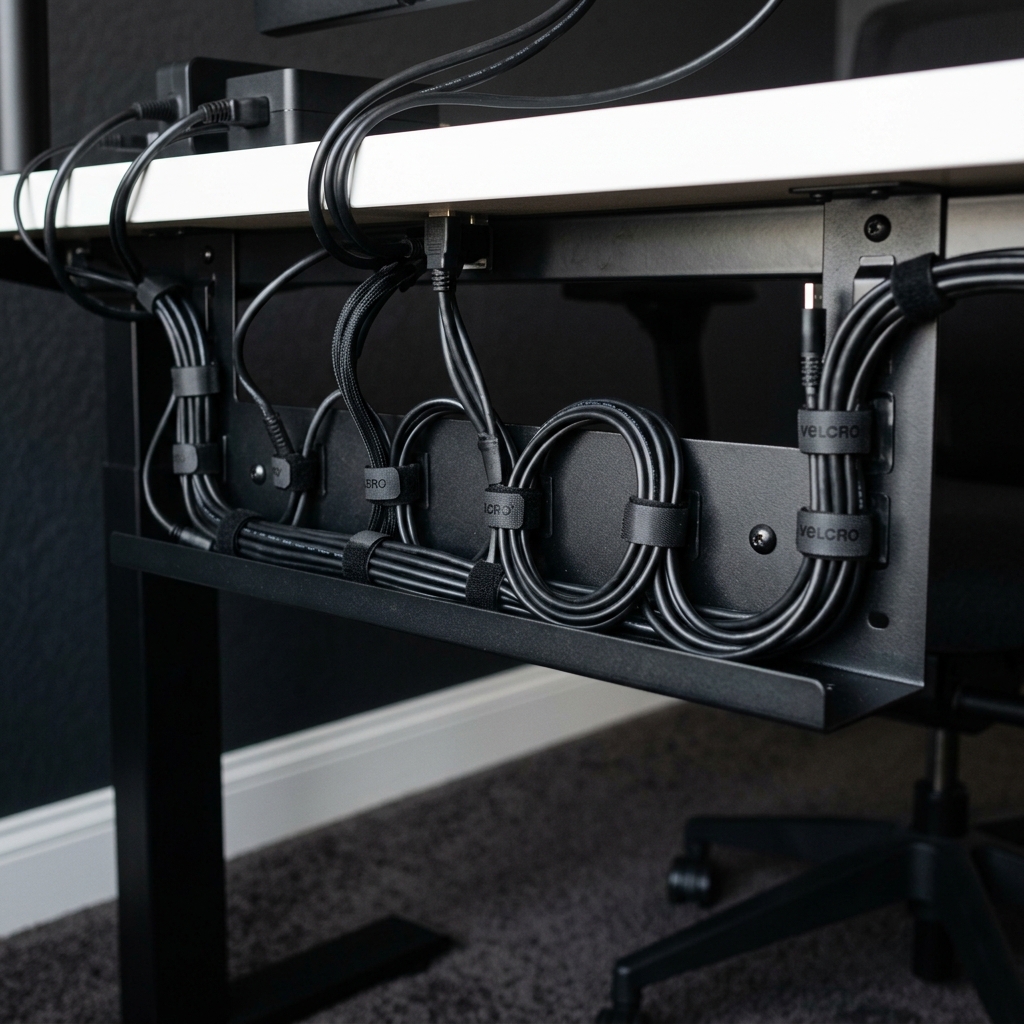
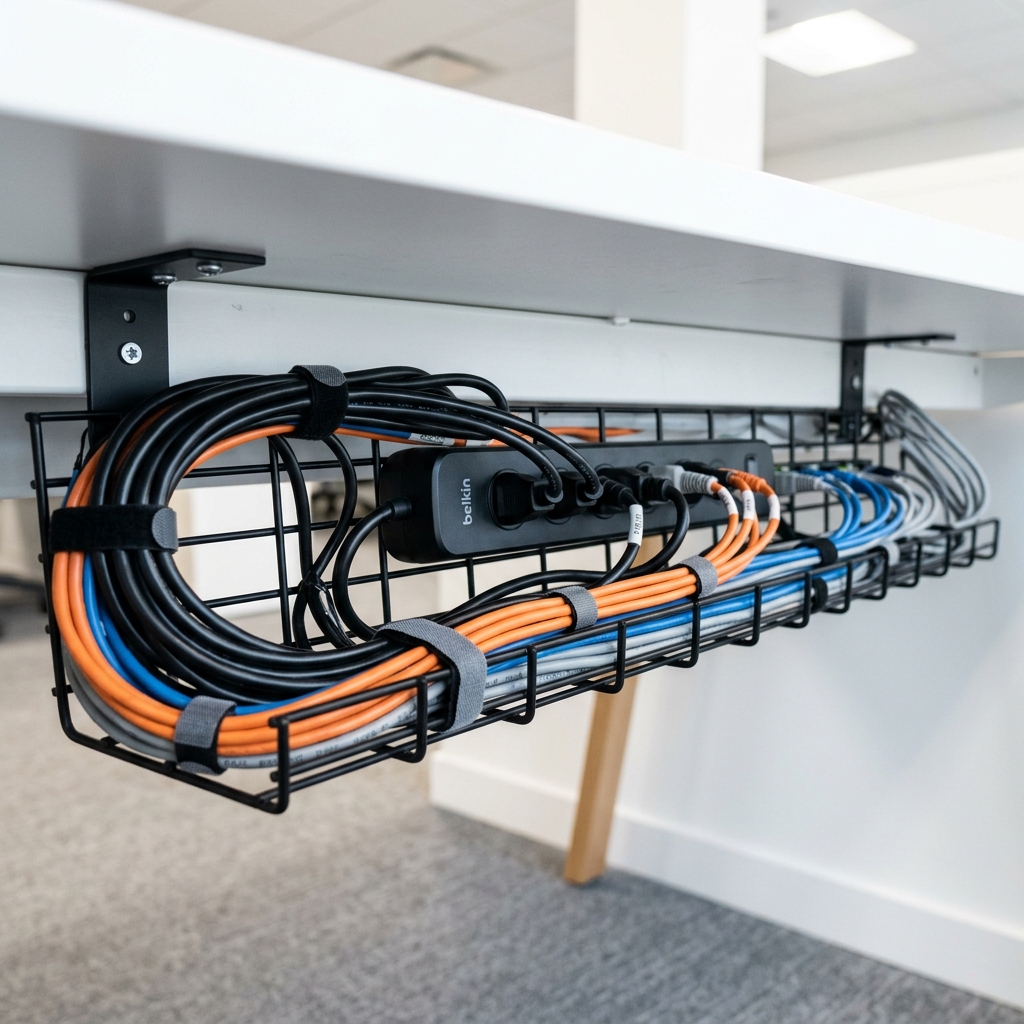
Install the under-desk cable tray
Position it on the underside of your desk, near the back. Use a clamp-mount if you don't want to drill, or screws if you own the desk and want a permanent fix. Place your power strip inside the tray and cable-tie it in place. This is now the cable hub — everything routes back to here.
Route each device cable along the desk edge
Use adhesive cable clips to route individual cables along the back of the desk or along its underside edge. Run monitor cables, USB hub cables, and desk lamp cables this way — each one clipped flat and out of sight. They all run to the tray at the back.
Bundle parallel cables with velcro ties
Anywhere two or more cables run the same route, bundle them together with a velcro tie. This reduces the number of visible lines even in areas where some cable is unavoidable. Velcro ties are reusable and adjustable — far better than zip ties for this purpose.
Handle the cable from desk to wall socket
Run this single power cable (from your tray to the wall socket) along the skirting board using clips, or use a D-line cable raceway for a cleaner finish. The raceway can be painted to match your wall and is nearly invisible from any normal viewing angle.
Replug and label cables
Reconnect everything, then label each cable at both ends with a small tag or piece of tape. This takes five minutes and saves significant frustration the next time you need to change anything — which, with well-managed cables, may not be for years.
The cable management products you need
You do not need all of these. Buy for the specific problems in your setup, starting with the cable tray. All available on Amazon UK.
 Start here
Under-Desk Cable Management Tray
The most important product. Clamp or screw to the desk underside. Hides the power strip and all bulk cables.
 Routing
Adhesive Cable Clips (Pack of 20+)
Route individual cables along the desk edge. Use 3M Command clips for rented properties — they remove cleanly.
 Bundling
Reusable Velcro Cable Ties
Bundle parallel cables together. Reusable, adjustable, and much better than zip ties for a desk setup.
 Wall routing
D-Line Cable Raceway
Runs cables along the wall from desk to socket. Paintable, adhesive-backed, and nearly invisible when painted to match.
 Power hub
Slim Power Strip with USB Ports
A flat or cube-format power strip sits neatly inside the cable tray. Built-in USB-A and USB-C ports reduce the number of adapters needed.
 Labelling
Cable Label Tags
Label each cable at both ends. Saves time later and removes the guessing that comes with an anonymous cable behind a desk.
For a more detailed breakdown of each product category, see our full cable management essentials guide.
Cable management for rented properties
Renting in the UK makes cable management feel like a challenge — but it doesn't need to be. All of the above can be done without any damage:
Use clamp-mount cable trays
Available in most cable tray listings — clamp to the desk edge with no screws or drilling. Just as stable as screw-fixed versions for a typical setup.
Use 3M Command adhesive clips
Remove cleanly from most surfaces when you move. Stronger than they look — these are standard in rental-friendly setups.
Use D-line adhesive raceways
No nails or screws — adhesive-backed. Remove carefully with a hair dryer to soften the adhesive if you're moving out.
Frequently asked questions
Use a clamp-mounted under-desk cable tray (no screws), 3M Command adhesive clips for routing cables along surfaces, and velcro ties for bundling. All of these are removable without damage, making them ideal for rented properties.
A complete setup typically costs £15–35. A good under-desk cable tray is £10–18, a pack of adhesive clips is £5–8, and velcro ties are around £5 for a pack of 40. A D-line raceway adds another £8–12. You rarely need all of these — the cable tray alone handles the majority of the problem.
Run it along the back edge of the desk and clip it in place with one or two small adhesive cable clips. If it needs to cross the desk surface, use a desk cable guide that keeps it flush and tidy. For charging cables that live on the desk surface permanently, a weighted cable holder keeps the end in place without it falling off the back.
Only if you have a long cable run from your desk to the wall socket that is visible. Most setups don't need a raceway if the desk is near the socket. If the cable has to travel along a wall for more than 60cm, a raceway makes a real difference to how clean the room looks overall.
Related guides
Cable Management Essentials
The full product guide — every cable management accessory with Amazon UK links.
Check prices on Amazon UK →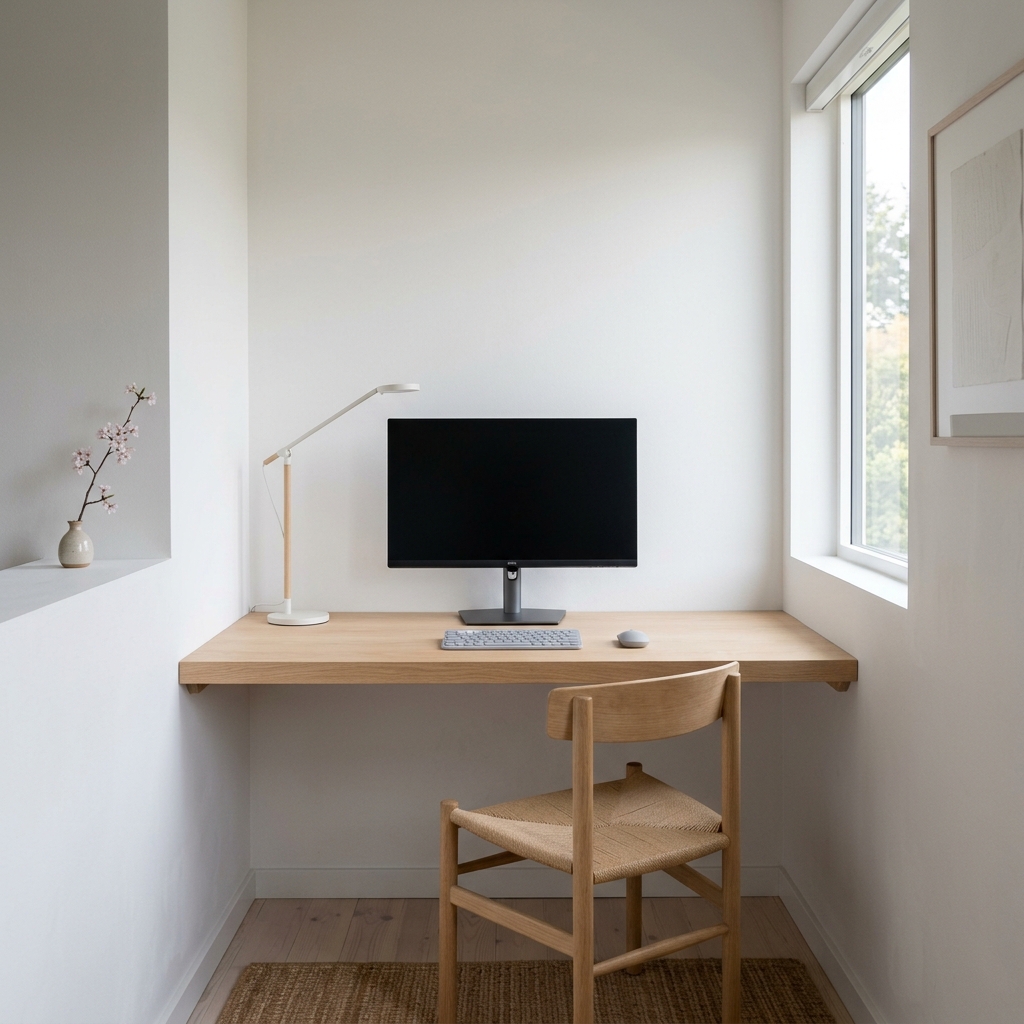
How to Organise a Small Desk
Cable management is step one. This guide covers the rest of the desk organisation process.
Read guide →
Minimal Desk Setup for Small Rooms
The complete guide — cable management in context with desk choice, organisation, and lighting.
View setup →